In this post, I want to show you how to use Azure MFA and hardware tokens together.
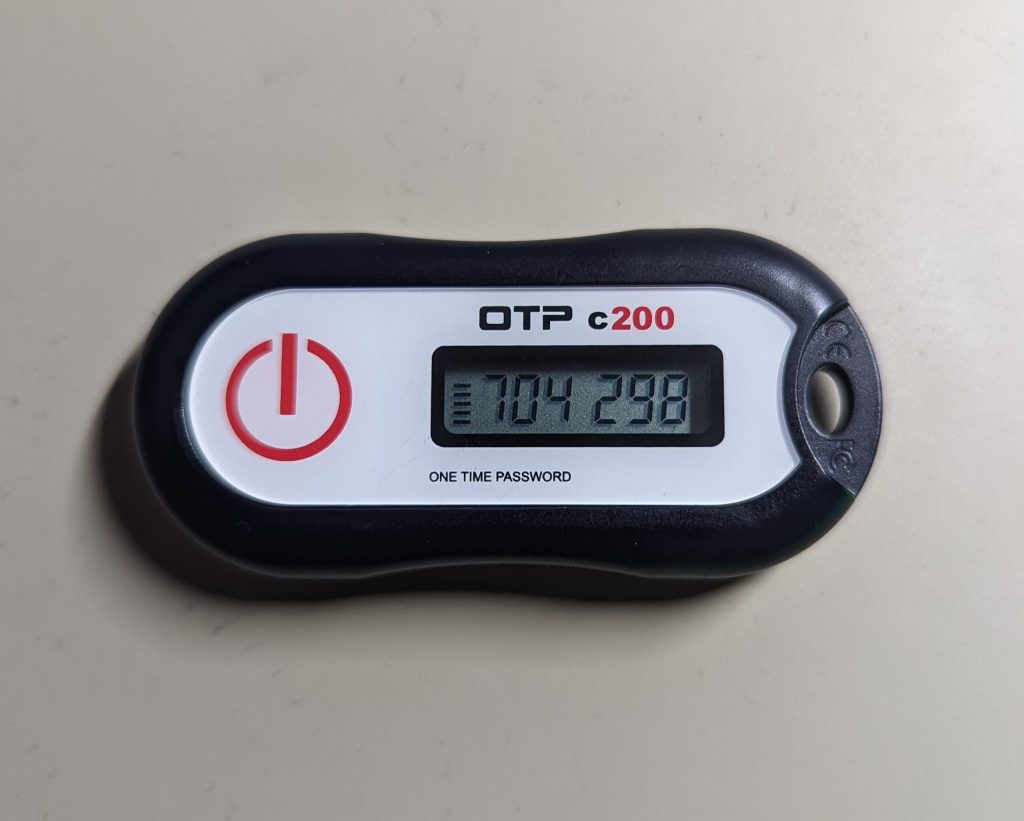
First, a few small notes: For the practical implementation, an Azure Active Directory Plan 1 or 2 is required. Since MFA and conditional access only show their full advantages in combination, this should not be a problem. Furthermore, it must be an OATH TOTP (Time-based One-time Password) token. Only these are supported. In my article I use a Feitian c200 token.
MFA (multifactor authentication) is a super way to provide secure access to resources. That’s why at least MFA registration is active by default in the security standards in every new Azure Active Directory. Through MFA a lot of cyberattacks can be averted, because the password alone does not allow access. And in the digital workplace, access is generally possible from anywhere, which makes additional security necessary. Therefore, also at this point once again the appeal: “Use MFA!”
Azure MFA can be deployed very easily via the Microsoft Authenticator app, which makes it very easy to use. However, a smartphone is required for this. And that is the point that makes it not quite so simple after all. Not every employee has a company cell phone, and not every employee wants to use their private cell phone for work purposes either. And now the hardware tokens come into play. So you don’t necessarily have to provide every employee with a company cell phone, but a hardware token is sufficient.
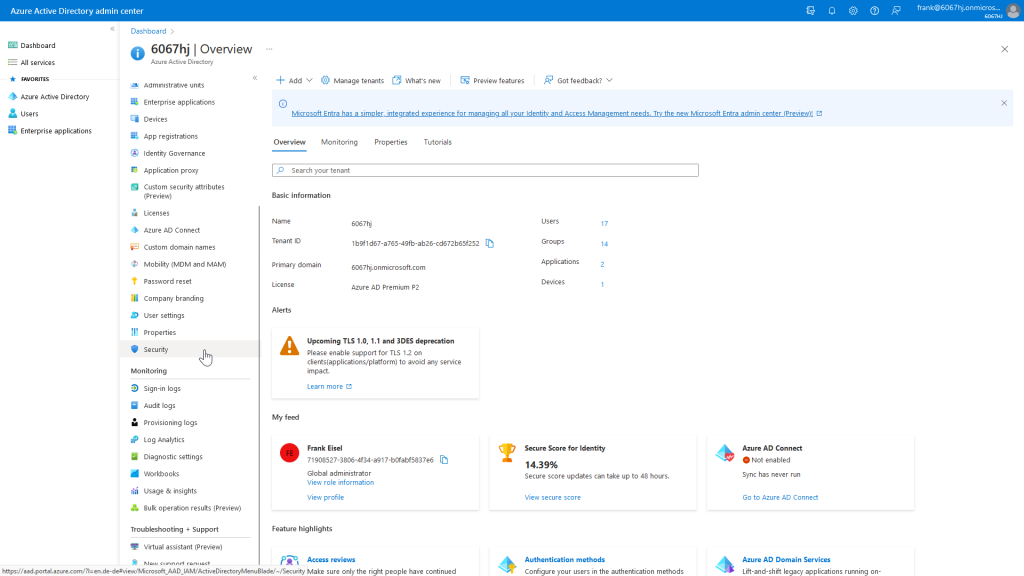
Now I will show you how to configure Azure MFA and hardware tokens. To do this, we open the Security section in the Azure Active Directory Admin Center.
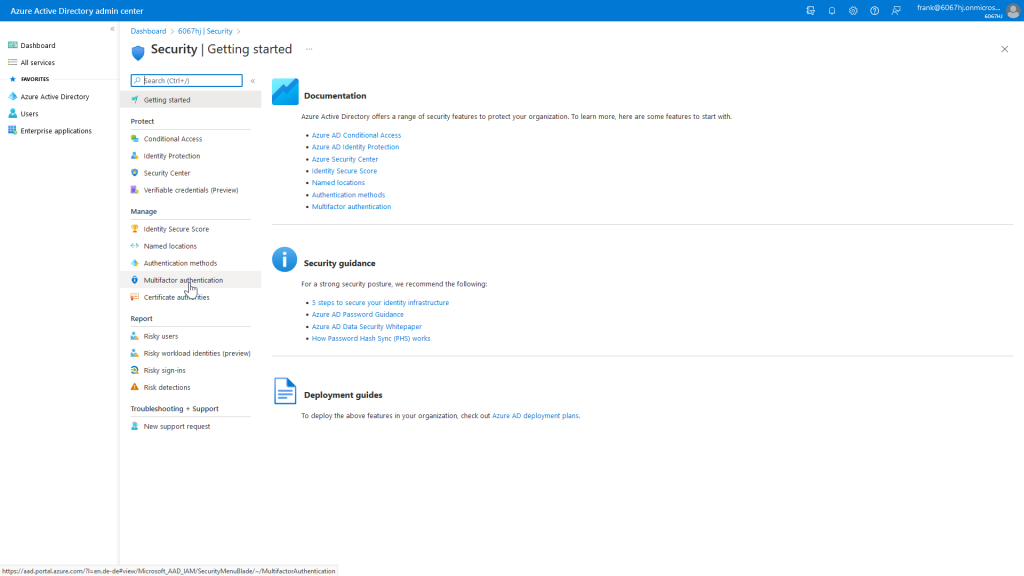
There we then select the Multifactor authentication section.
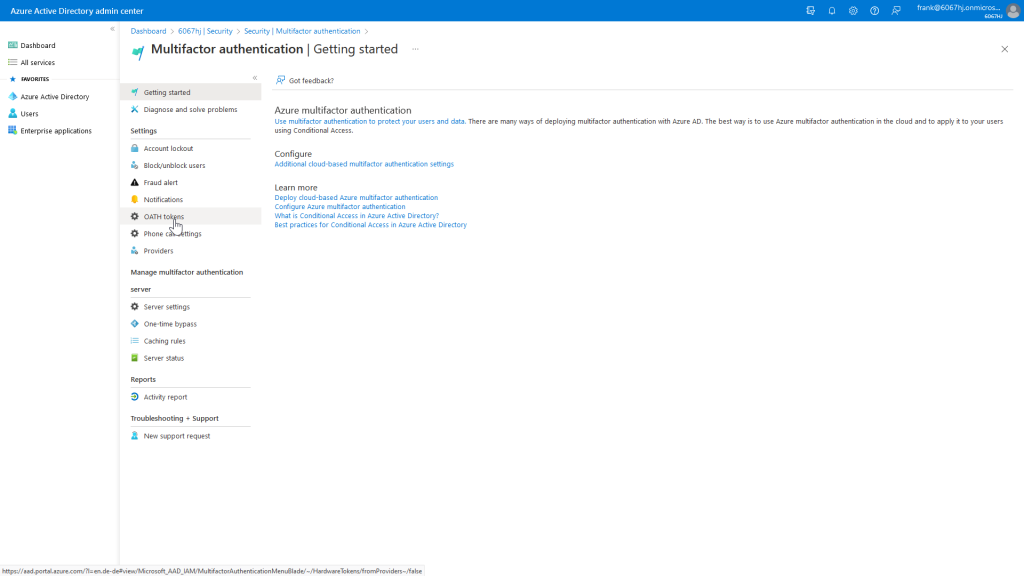
After that, we just need to open the OATH tokens settings, and we are there.
The actual assignment of the token to the user is done via a CSV file with the following structure (The headers must be kept!):
upn,serial number,secret key,time interval,manufacturer,model ,2607202100566,SXPGIV3CGUFQSGTBKGK6QX757NPSQ3XP,60,Feitian,c200
Actually, the structure should be self-explanatory, but here is a brief explanation of the individual features.
upn: UPN of the user to whom the token is to be assigned.number: Serial number of the token. This is supplied by the manufacturer/seller, or is written on the back of the model I am using.secret key: The key must also be supplied by the manufacturer/vendor. It is important that the secret key is coded in BASE32. Either request it immediately or convert it accordingly.time interval: Validity period of the check code in seconds. This can be either 30 or 60 seconds. Please also observe the manufacturer’s specifications here.manufacturer: Manufacturer of the hardware token, can be customized as desired.model: Model of the hardware token, can be customized as desired.
After we upload the CSV file, it will be processed. If the processing was successful, we can see the result through a refresh.
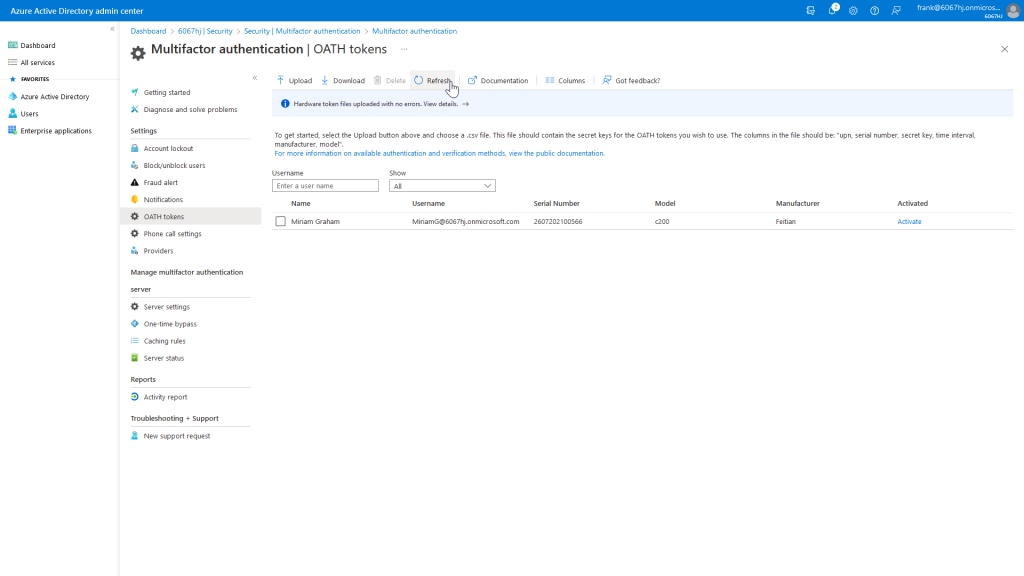
In the overview you can easily recognize the entered values from the CSV file. Now we have to activate the token as the last step.
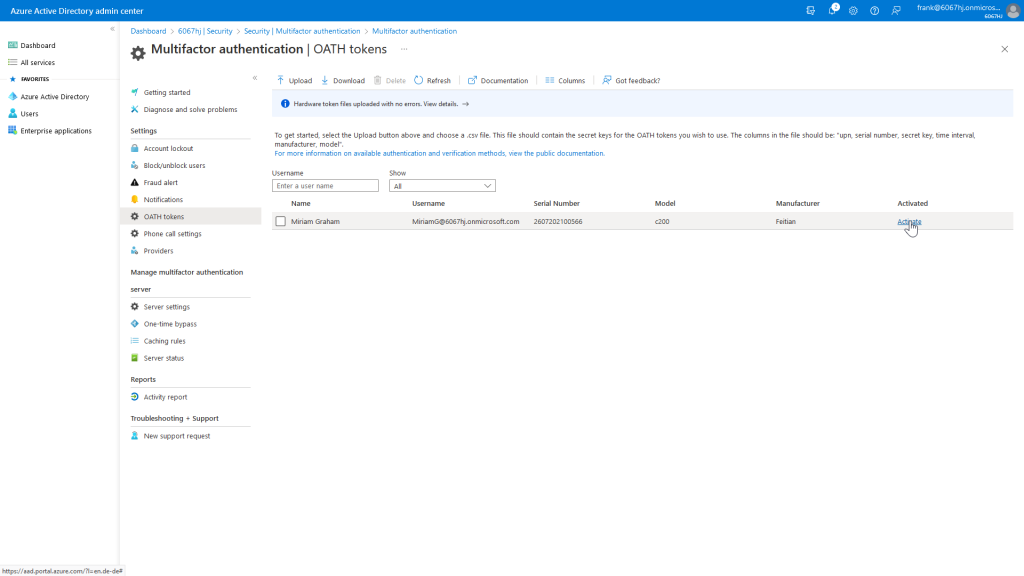
To do this, we need to enter the displayed verification code from our hardware token.
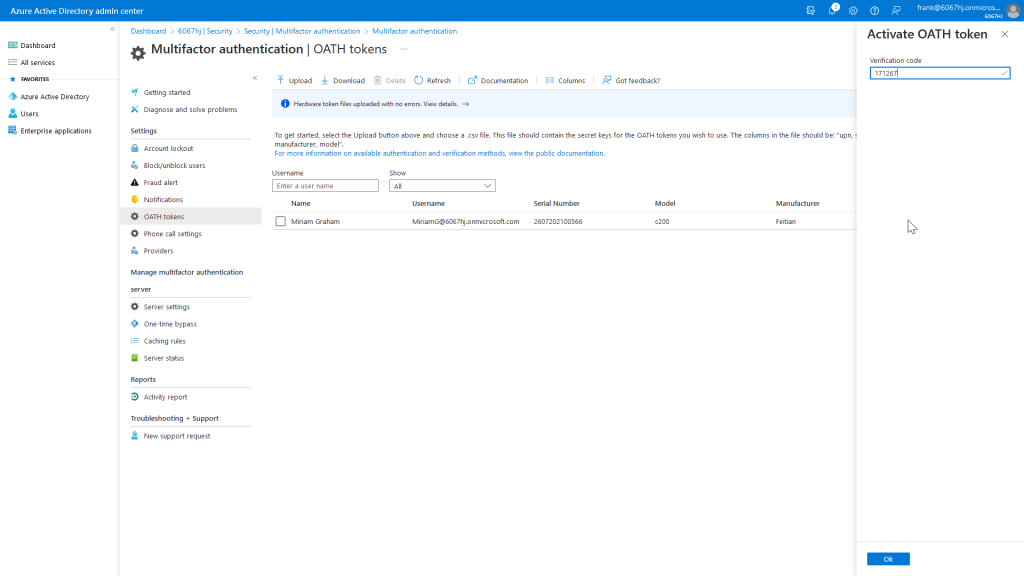
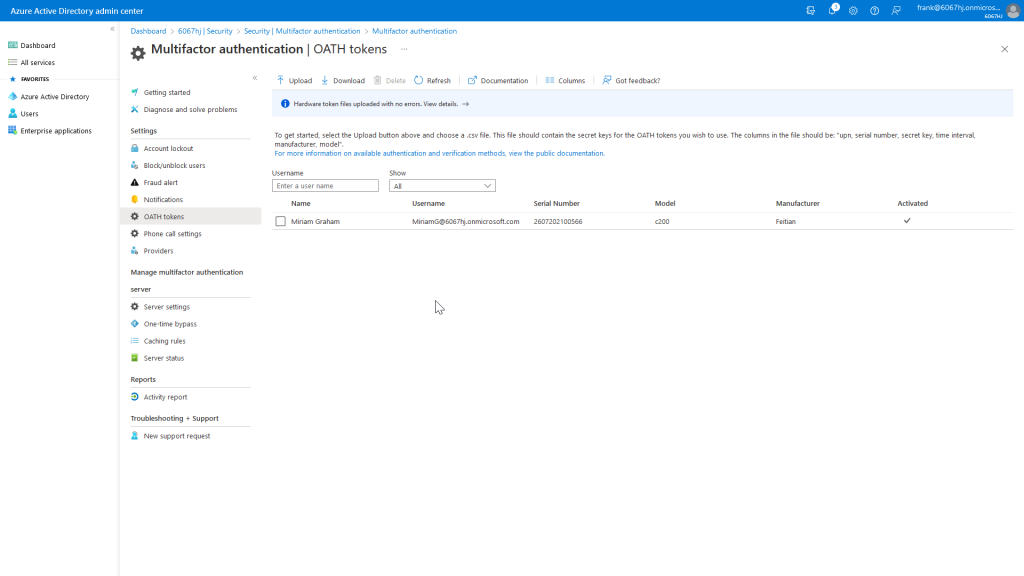
Now the hardware token is enabled and can be used for Azure MFA.
When the user Miriam wants to log in, a conditional access rule performs an MFA request where the displayed verification code from the hardware token must be entered.
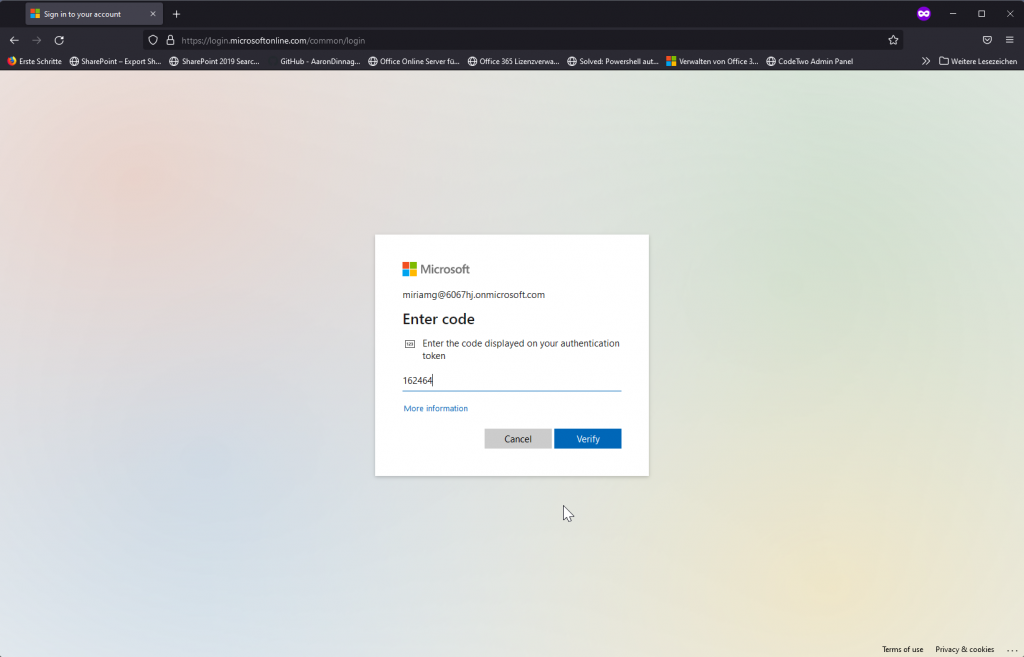
So Miriam can use Azure MFA and a hardware token without needing a company phone or a separate app.
So enable MFA and make your data a “little” safer!


[…] Dieser Artikel ist auch in englischer Sprache verfügbar […]