
In this article, I would like to show you how to assign granular permissions to a Managed Identity in Exchange Online.
Managed identities are a great thing and, in terms of security, also a further development of app registration, because neither a certificate nor a secret key is required.
Many examples on the Internet show how to establish a connection to Exchange Online in Azure Automation. However, these examples always use the Exchange Administrator role, which in most cases is far too high an authorization and will hopefully not be used.
In this example, we have an Azure Function App that is to be used to read the Exchange mailboxes (configuration, not the content).
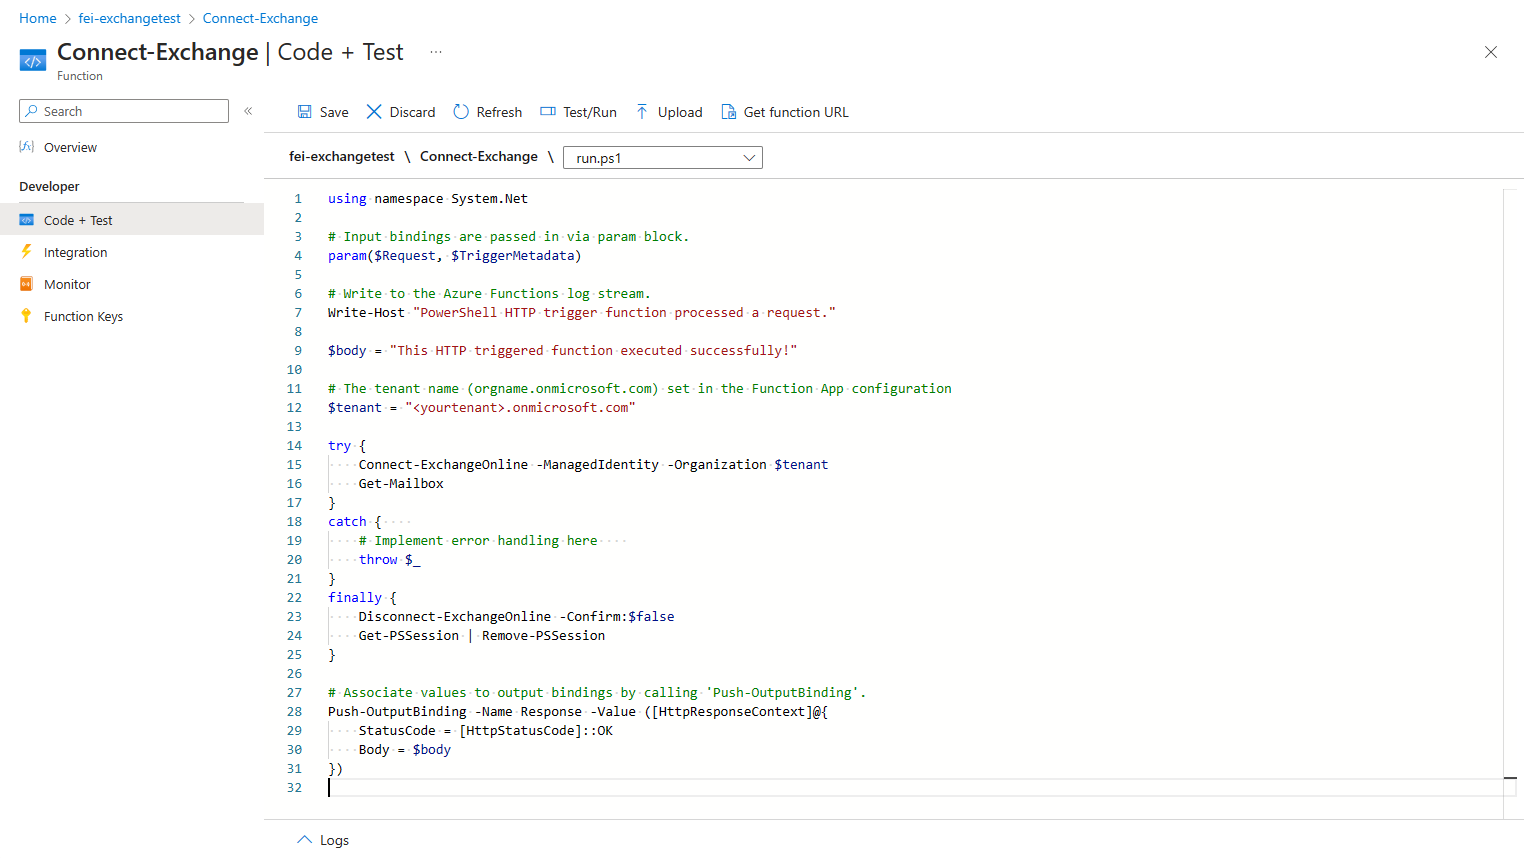
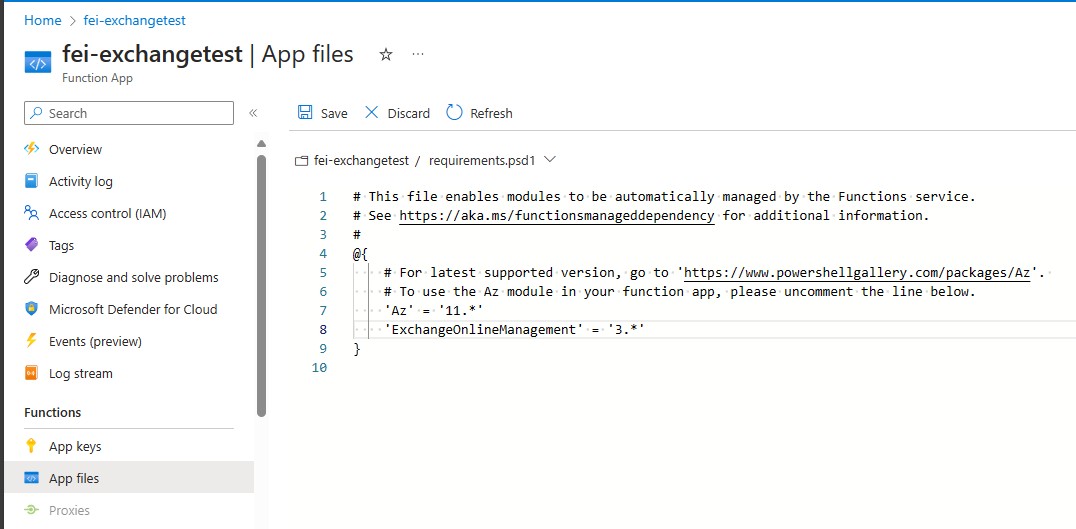
Of course, we still need to add the necessary modules to our function app.
And also adjust the profile.ps1 file.
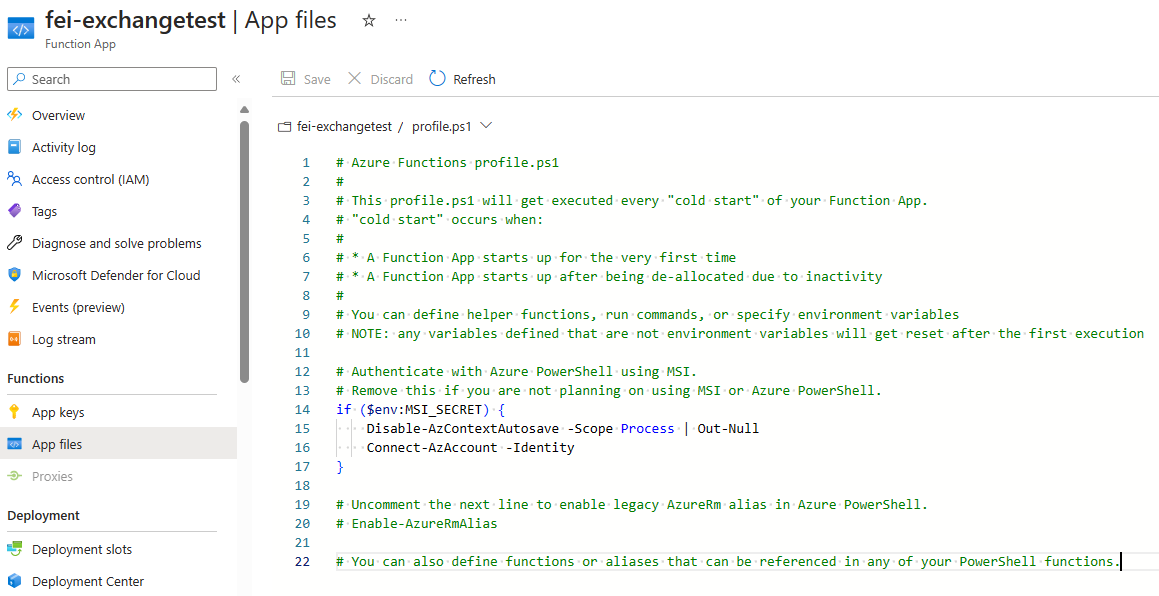
profile.ps1 file for use with Managed IdentitiesFor this example, we assume that the Exchange permission View-Only Recipients is sufficient.
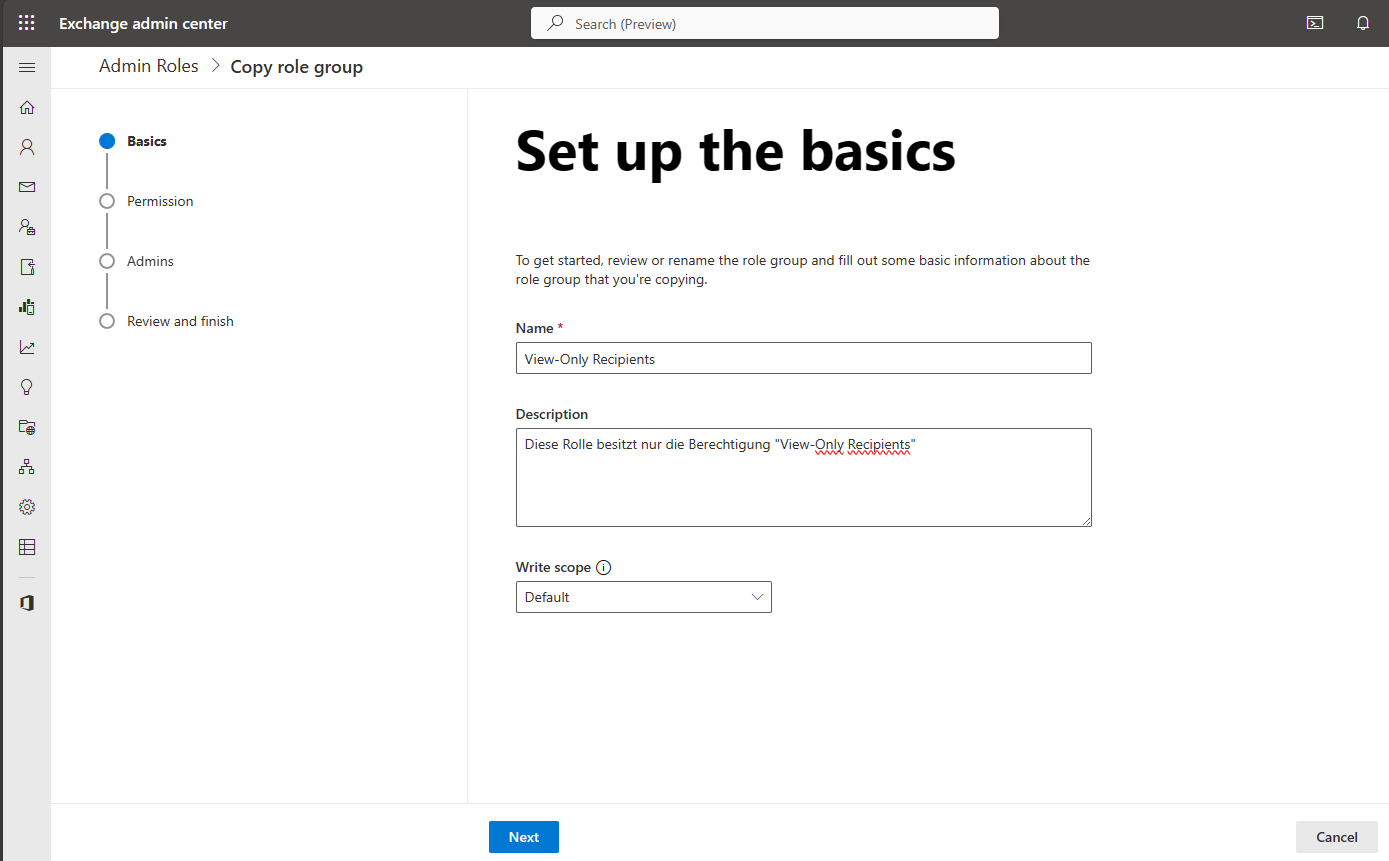
We therefore create a new role for this in the Exchange Admin Center.
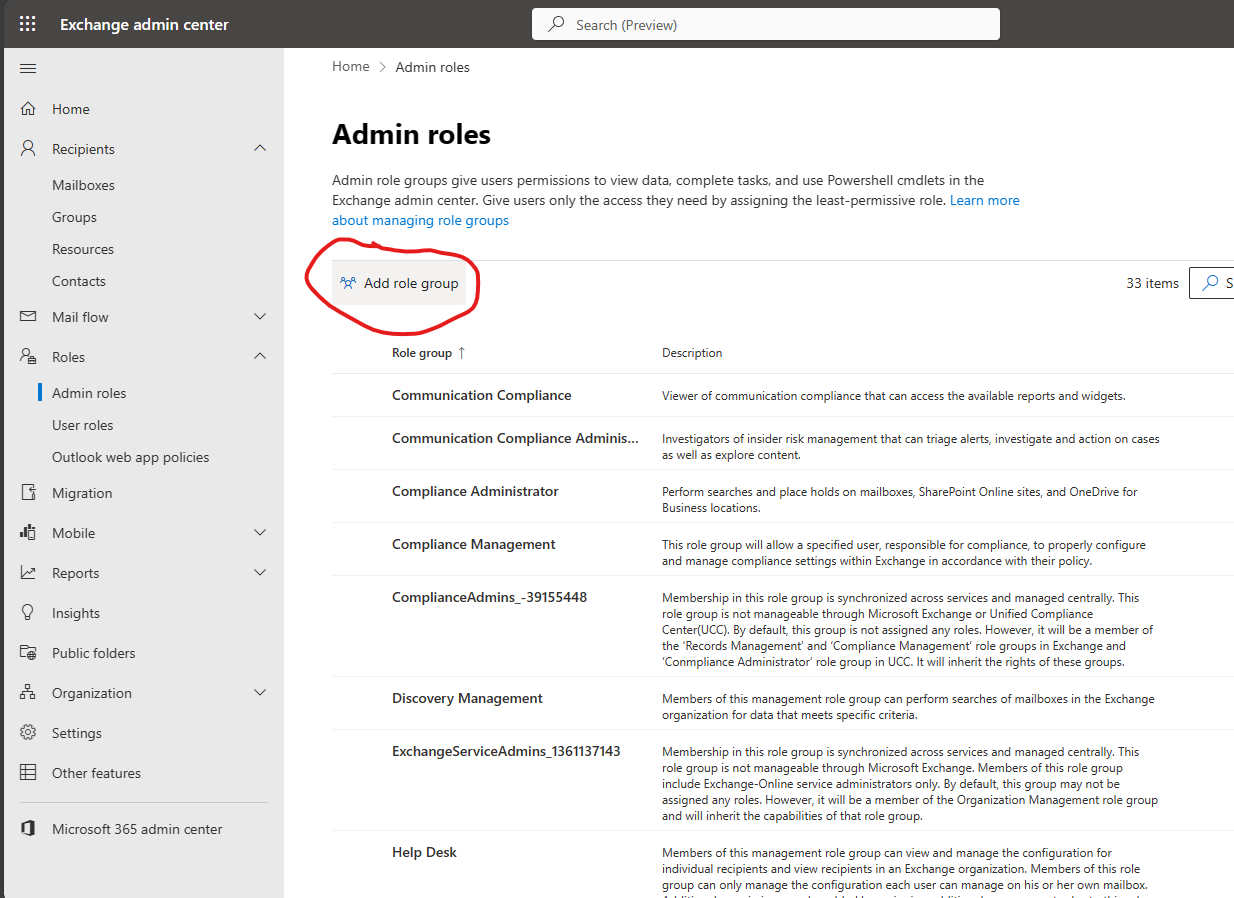
We assign a name and optionally a description for the role.
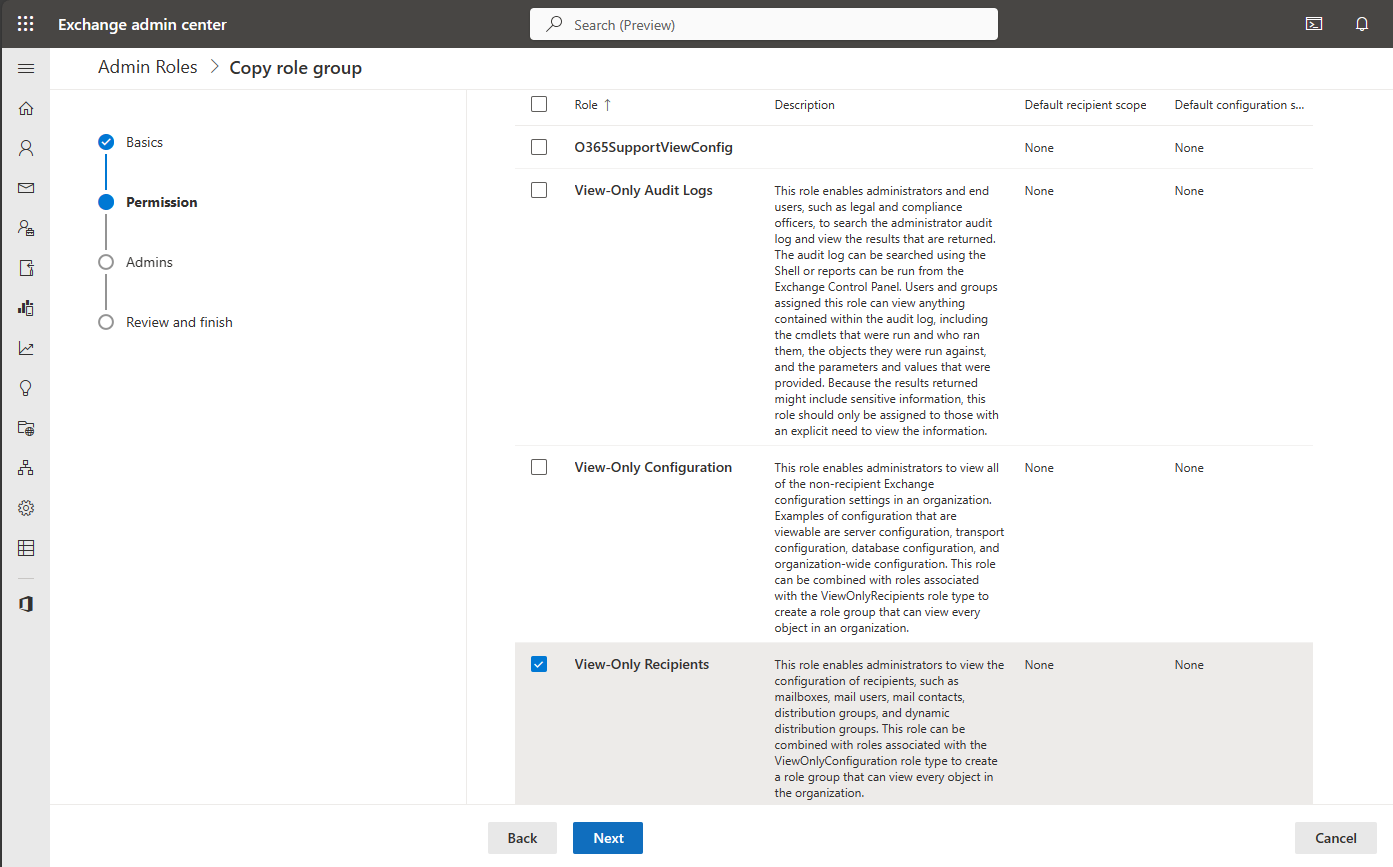
We then assign the aforementioned authorization for our new role.
We don’t necessarily need to specify admins at this point, so we’ll leave this blank for now.

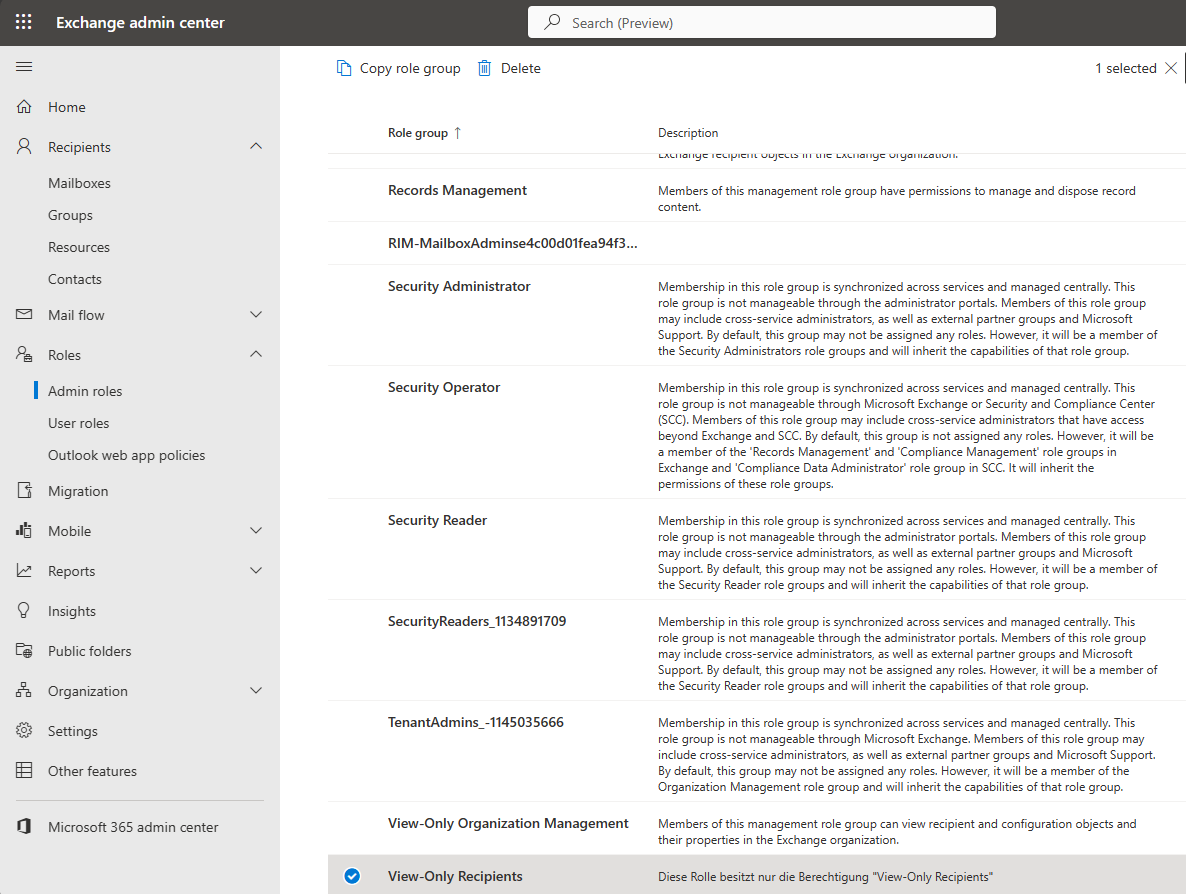
We can then create the role and find it in the overview.
Now we “only” have to add our Managed Identity to the new role so that we can access Exchange Online with our Function App.
The easiest way to do this is via a small PowerShell script, also because there is no graphical interface for the actions.
# Name of the Azure Function App or the Managed Identity
$managedIdentityDisplayName = 'fei-exchangetest'
# Exchange role
$exchangerole = 'View-Only Recipients'
# Name of the tenant
$organizationName = '<tenant>.onmicrosoft.com'

# Validate or install the necessary modules
if(-not (Get-Module Az -ListAvailable)){
    Install-Module Az -Scope CurrentUser -Force
}
if(-not (Get-Module Microsoft.Graph -ListAvailable)){
    Install-Module Microsoft.Graph -Scope CurrentUser -Force
}
if(-not (Get-Module ExchangeOnlineManagement -ListAvailable)){
    Install-Module ExchangeOnlineManagement -Scope CurrentUser -Force
}

Connect-AzAccount
$adServicePrincipal = Get-AzADServicePrincipal -Filter "displayName eq '$($managedIdentityDisplayName)'"

Connect-MgGraph -Scopes AppRoleAssignment.ReadWrite.All, Application.Read.All, RoleManagement.ReadWrite.Directory
$resourceId = (Get-MgServicePrincipal -Filter "AppId eq '00000002-0000-0ff1-ce00-000000000000'").Id
# Exchange.ManageAsApp (the GUID is the same in all tenants)
$appRoleId = "dc50a0fb-09a3-484d-be87-e023b12c6440"
# Add permission Exchange.ManageAsApp
New-MgServicePrincipalAppRoleAssignment -ServicePrincipalId $adServicePrincipal.Id -PrincipalId $adServicePrincipal.Id -AppRoleId $appRoleId -ResourceId $resourceId

Connect-ExchangeOnline -Organization $organizationName
$exoServicePrincipalDisplayName = "Service Principal $managedIdentityDisplayName"
# Create new service principal
New-ServicePrincipal -AppId $adServicePrincipal.AppId -ObjectId $adServicePrincipal.Id -DisplayName $exoServicePrincipalDisplayName
# Add service principal to the role
Add-RoleGroupMember -Identity $exchangerole -Member $appServicePrincipal.AppId
In lines 1 to 6, only the variables for your Managed Identity, Exchange Online role and tenant name need to be adjusted. The script will do the rest for you 🙂.
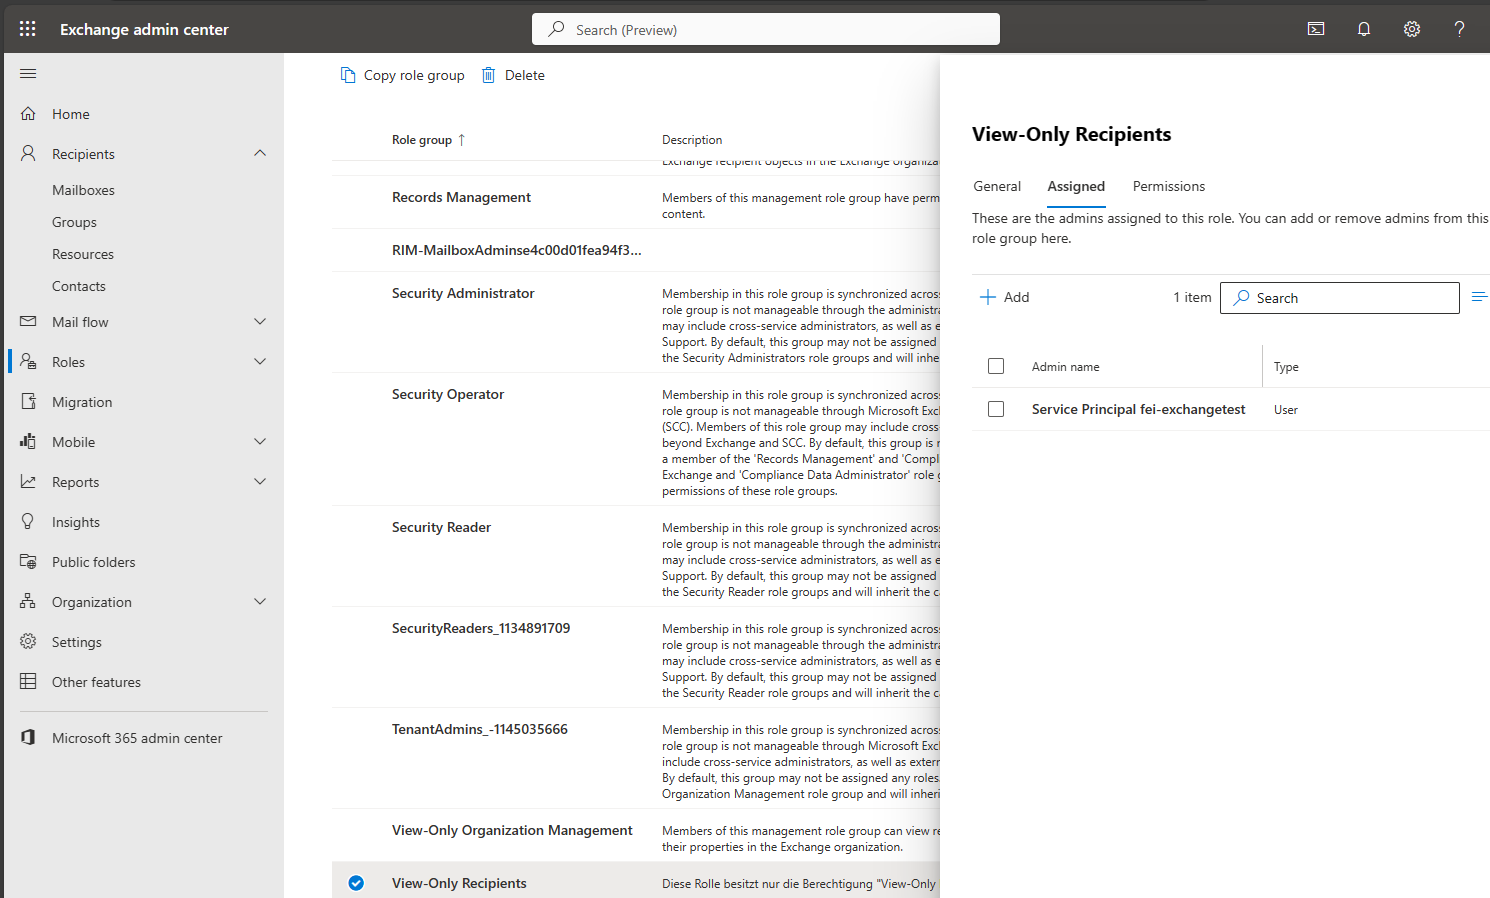
The result can then also be checked via the web interface of the Exchange Online Admin Center. Our newly created service principal should now appear there in the role’s authorizations.
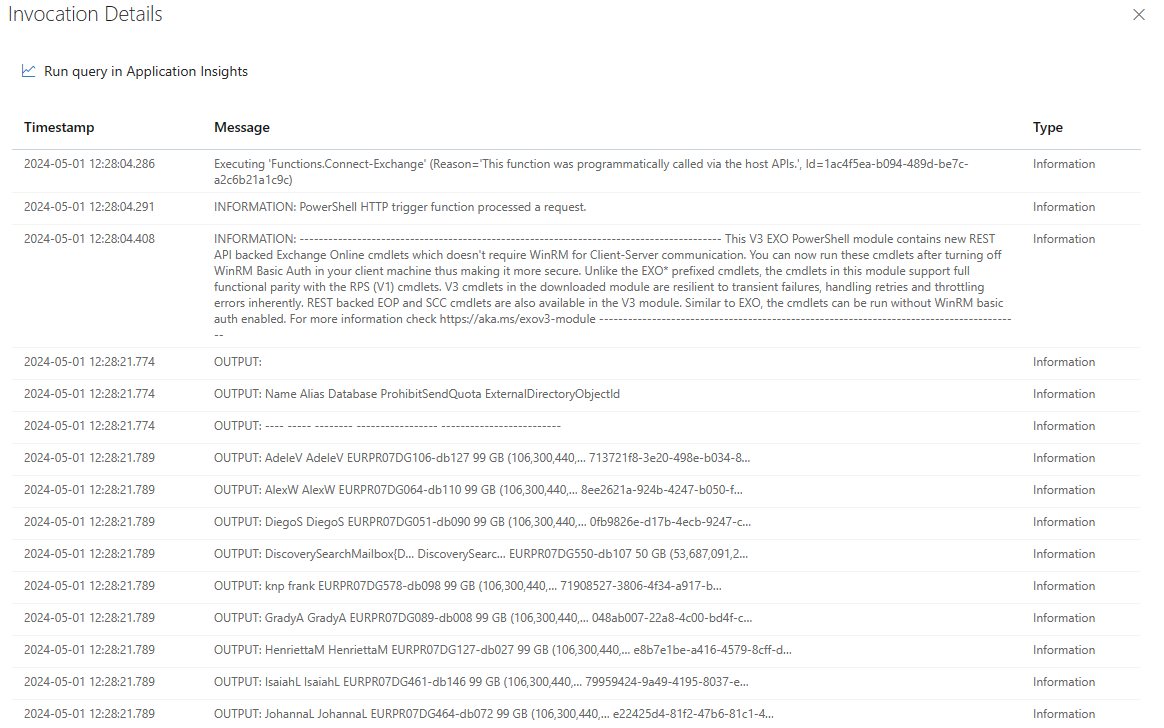
If we now run our function app, all mailboxes can be read.
This gives you a much more granular way of assigning permissions for Managed Identities in Exchange Online and you don’t always have to assign administrator rights.
[…] This post is also available in English […]
[…] for productive environments. I have already described how this works for Exchange Online in another post. The procedure is similar, but for Security & […]