
In this article, I would like to show you how to connect to the Security & Compliance PowerShell module (Connect-IPPSSession) and managed identity.
Unfortunately, Microsoft’s documentation does not provide any information on this option, so I will show the procedure using the example of a function app in Azure.
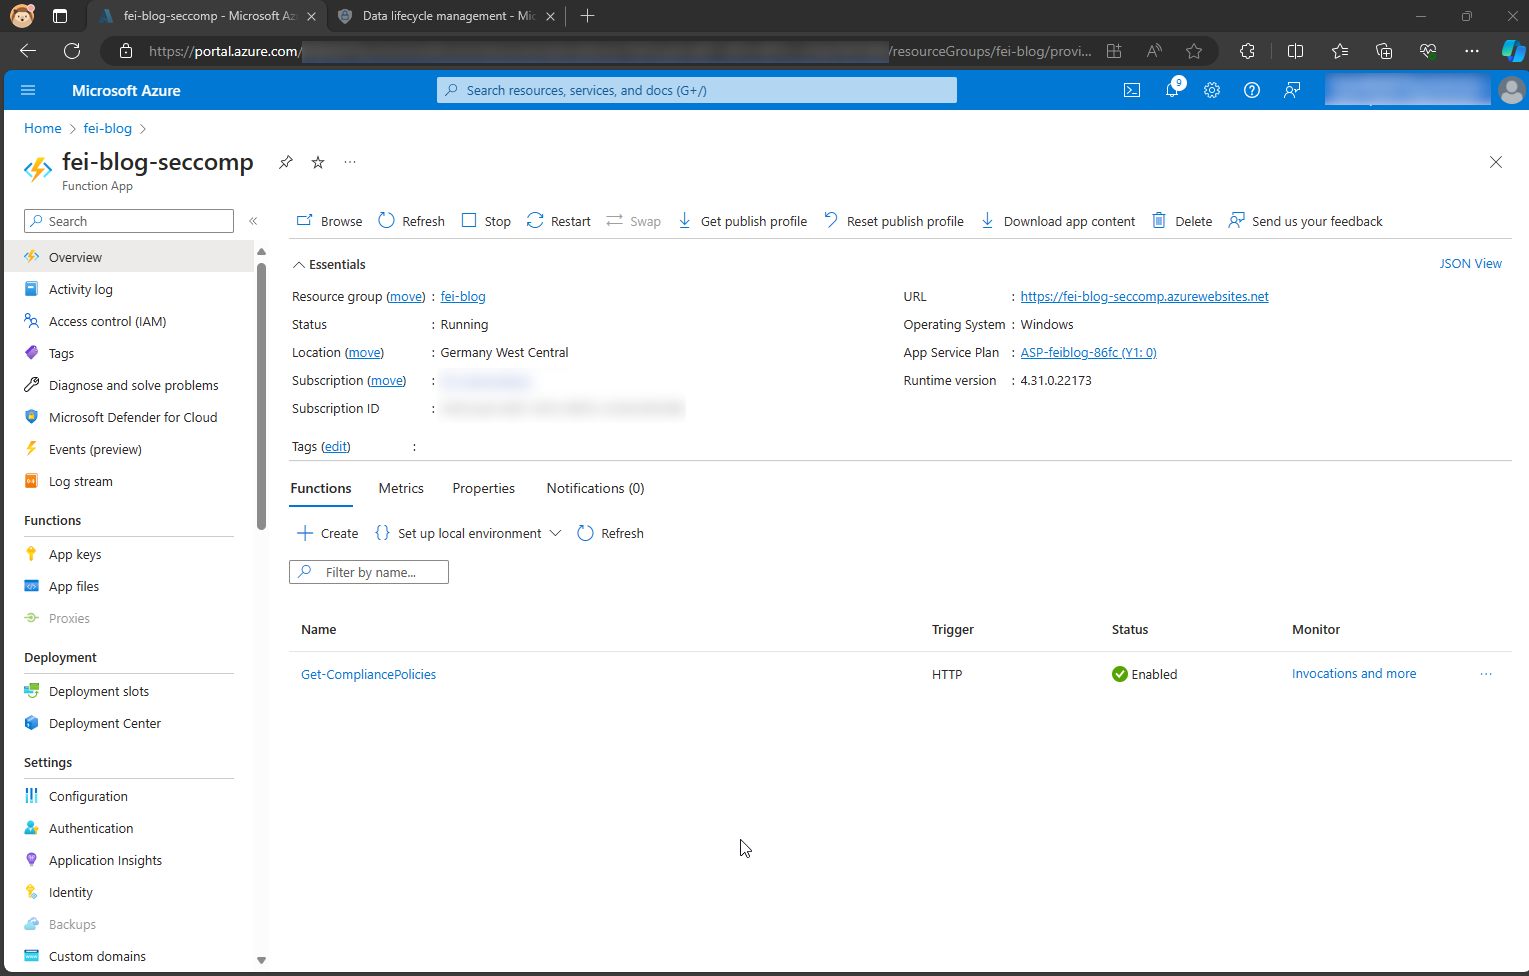
First, we create a function app in Azure.
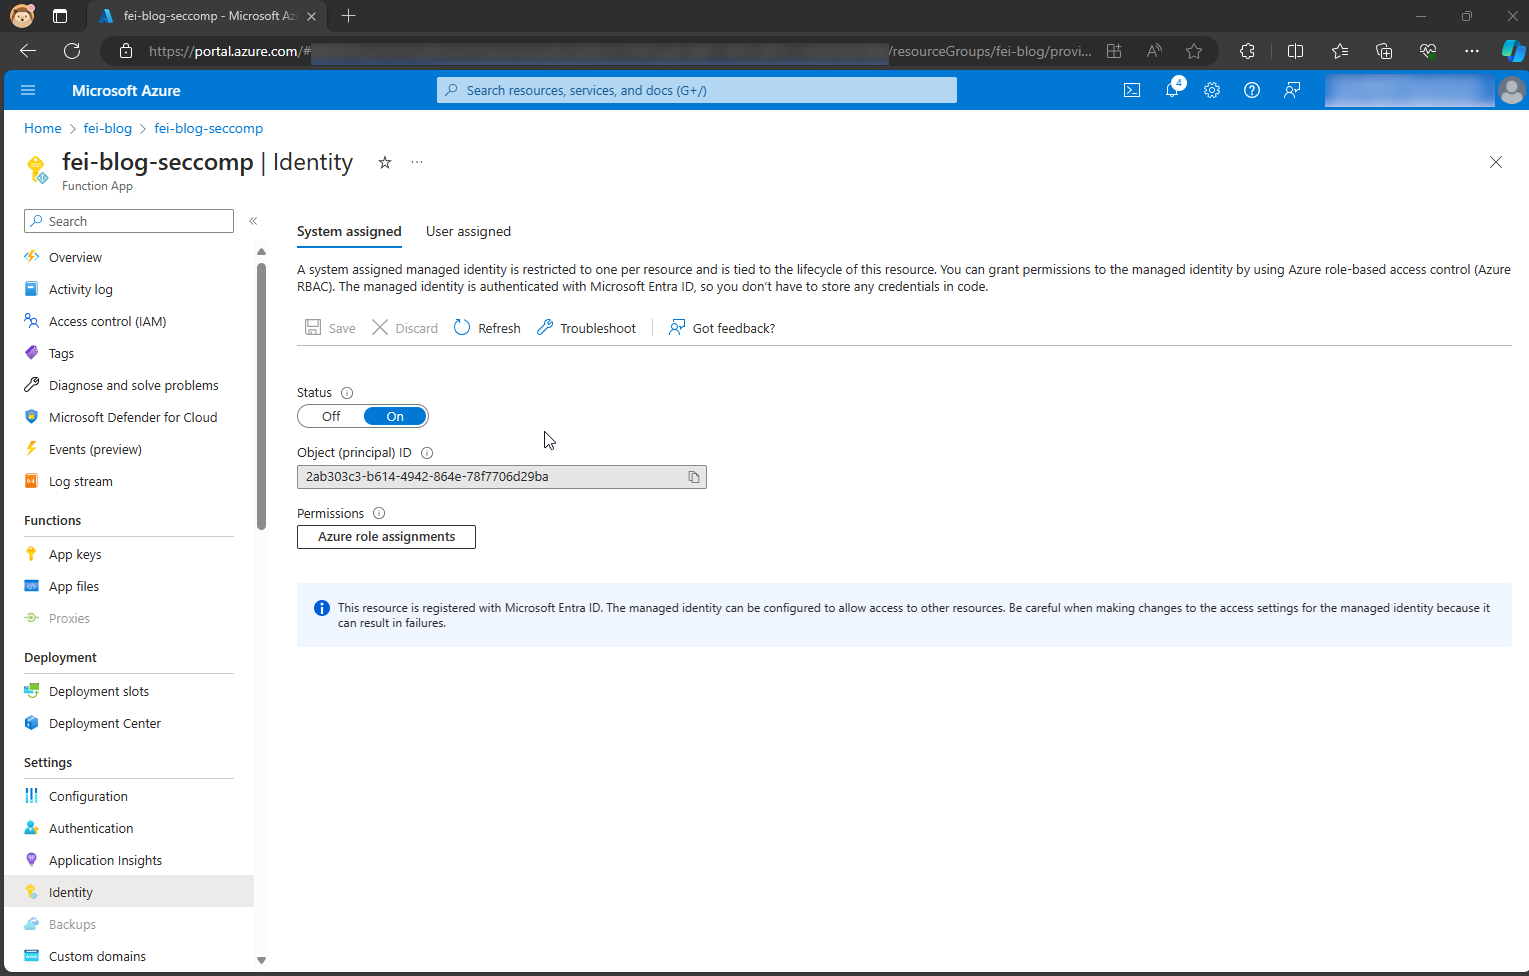
The first step is to activate the managed identity for our function app.
In the second step, we must first assign the basic permission Exchange.ManageAsApp to our managed identity. This can be done with the following script, for example.
# Name of the Azure Function App or the managed identity
$managedIdentityDisplayName = 'fei-blog-seccomp'

# Validate or install the necessary modules
if(-not (Get-Module Az -ListAvailable)){
    Install-Module Az -Scope CurrentUser -Force
}
if(-not (Get-Module Microsoft.Graph -ListAvailable)){
    Install-Module Microsoft.Graph -Scope CurrentUser -Force
}
if(-not (Get-Module ExchangeOnlineManagement -ListAvailable)){
    Install-Module ExchangeOnlineManagement -Scope CurrentUser -Force
}
Connect-AzAccount
$adServicePrincipal = Get-AzADServicePrincipal -Filter "displayName eq '$($managedIdentityDisplayName)'"
Connect-MgGraph -Scopes AppRoleAssignment.ReadWrite.All, Application.Read.All, RoleManagement.ReadWrite.Directory
$resourceId = (Get-MgServicePrincipal -Filter "AppId eq '00000002-0000-0ff1-ce00-000000000000'").Id
# Exchange.ManageAsApp (the GUID is the same in all tenants)
$appRoleId = "dc50a0fb-09a3-484d-be87-e023b12c6440"
# Add Exchange.ManageAsApp permission
New-MgServicePrincipalAppRoleAssignment -ServicePrincipalId $adServicePrincipal.Id -PrincipalId $adServicePrincipal.Id -AppRoleId $appRoleId -ResourceId $resourceId
In line 2, only the name of the function app needs to be adjusted if it (hopefully 😉 ) has a different name for you.
We then need to assign the managed identity a corresponding role for the authorizations. In this example, we use the Compliance Administrator role to simplify matters. However, the recommendation here is also to use a corresponding service principal for productive environments. I have already described how this works for Exchange Online in another post. The procedure is similar, but for Security & Compliance.
The third step in the preparation is to add the necessary modules to the function app. This works as usual via the requirements.psd1.
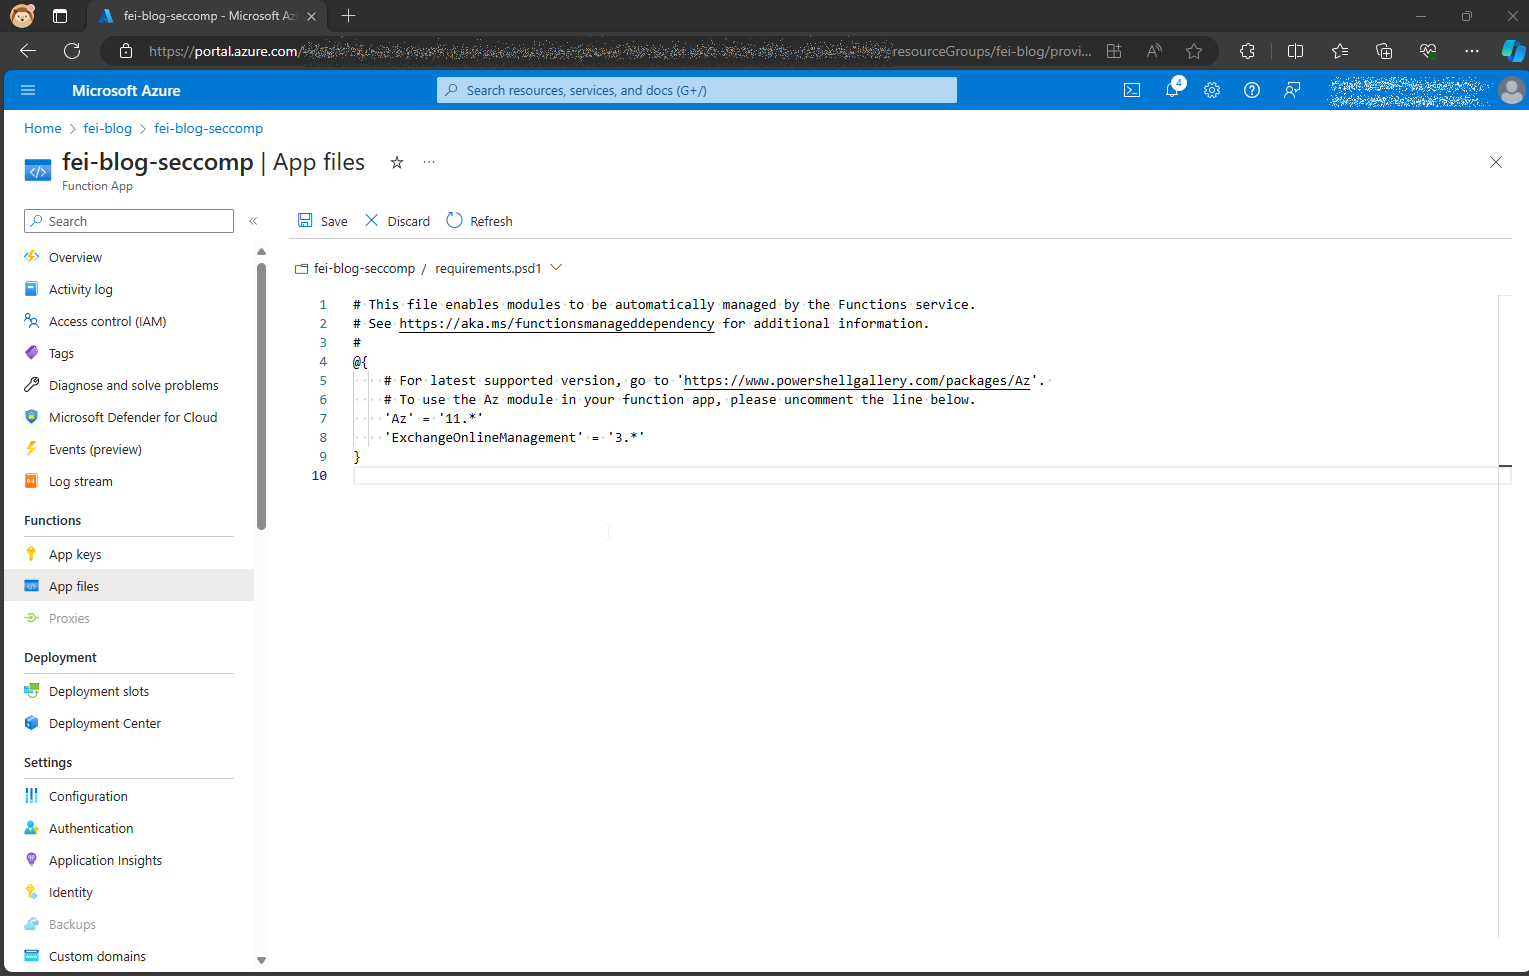
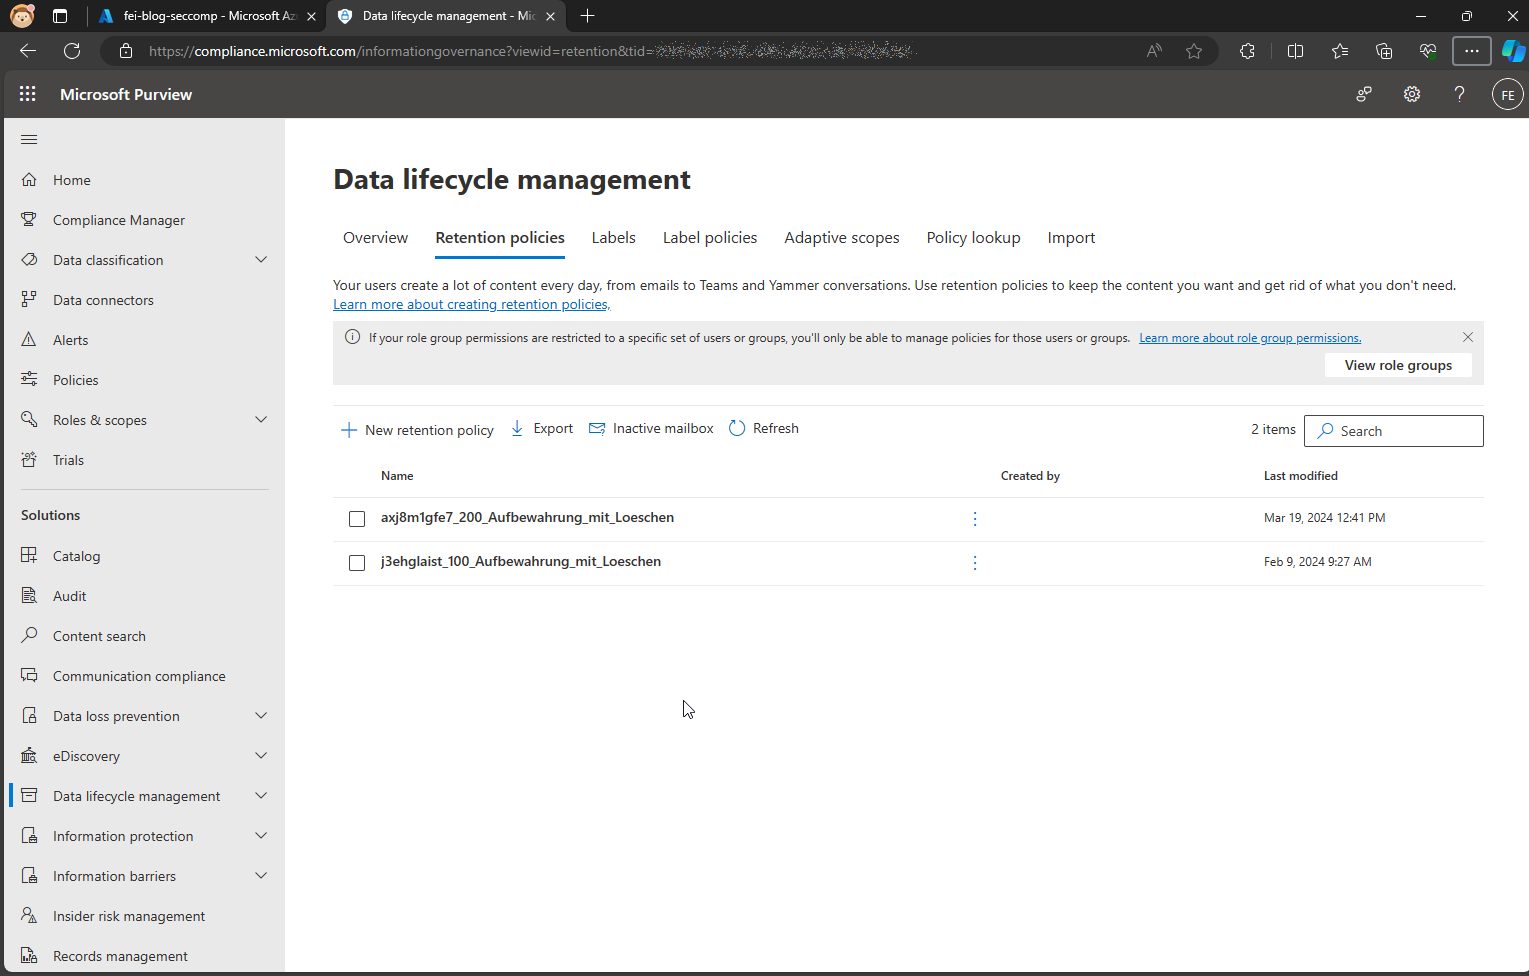
requirements.psd1 with the necessary modulesOur function app function should return our existing retention policies. The following policies are currently defined.
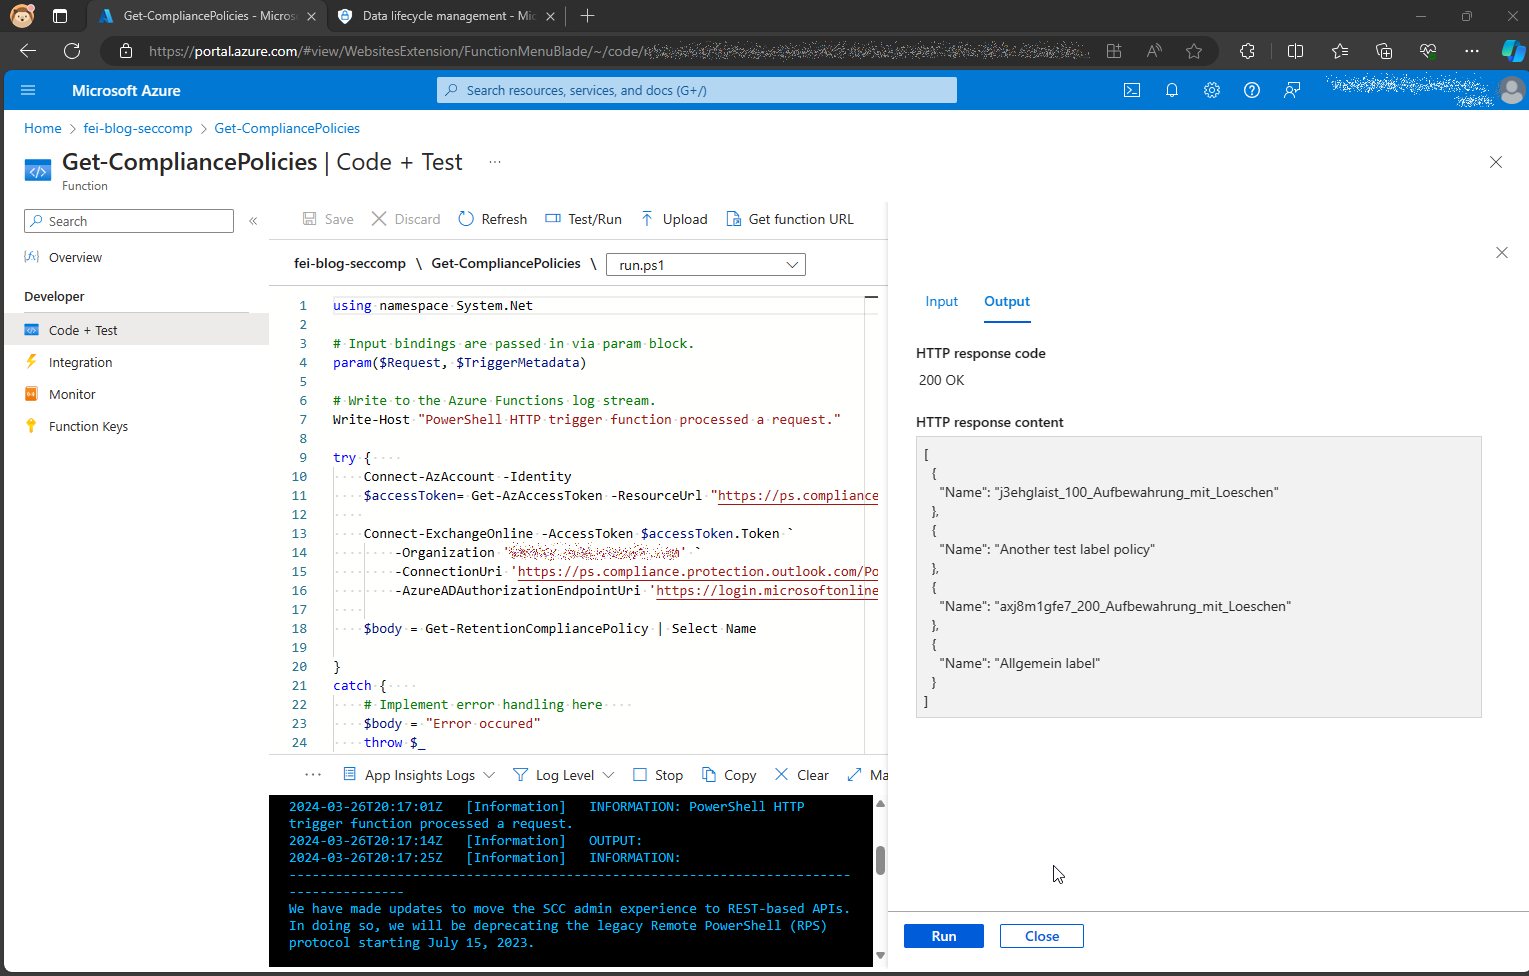
Now we create a function with the name Get-CompliancePolicies in the Function App, which returns exactly these policies.
The function has the following code.
using namespace System.Net

# Input bindings are passed in via param block.
param($Request, $TriggerMetadata)

# Write to the Azure Functions log stream.
Write-Host "PowerShell HTTP trigger function processed a request."

try {
    Connect-AzAccount -Identity
    $accessToken= Get-AzAccessToken -ResourceUrl "https://ps.compliance.protection.outlook.com/"

    Connect-ExchangeOnline -AccessToken $accessToken.Token `
        -Organization '<yourOrganization.onmicrosoft.com>' `
        -ConnectionUri 'https://ps.compliance.protection.outlook.com/PowerShell-LiveId' `
        -AzureADAuthorizationEndpointUri 'https://login.microsoftonline.com/organizations'

    $body = Get-RetentionCompliancePolicy | Select Name

}
catch {
    # Implement error handling here
    $body = "Error occured"
    throw $_
}
finally {
    Disconnect-ExchangeOnline -Confirm:$false
    Get-PSSession | Remove-PSSession
}

# Associate values to output bindings by calling 'Push-OutputBinding'.
Push-OutputBinding -Name Response -Value ([HttpResponseContext]@{
    StatusCode = [HttpStatusCode]::OK
    Body = $body
})
In lines 10 to 16, authentication takes place in the Security & Compliance PowerShell module with the Managed Identity of our Function App. In line 14, the tenant name still needs to be adjusted and in line 18 we output the retention policies and return them in the body of the function.
When we test the function, we see that the authentication works and we get the retention policy.
By using managed identities, using the Security & Compliance PowerShell module is much more secure and easier than with an app registration or a service account.
[…] This post is also available in English […]